Create a .NET 8 Application and run it in AWS Lambda
Introduction
In this tutorial, we will guide you through the process of creating a .NET 8 application and deploying it to AWS Lambda. AWS Lambda is a serverless computing service that allows you to run code without provisioning or managing servers.
Prerequisites
- Basic knowledge of C# and .NET development.
- An AWS account.
- .NET 8 SDK installed.
Steps
1. Create a .NET8 project with the following basic template.
https://github.com/viktornilsson/dotnet-lambda-template
The Function.cs file just contains a simple “Hello World” message.
using System;
using System.Threading.Tasks;
using Amazon.Lambda.Core;

namespace DotNetLambdaFunction
{
    public class Function
    {
        public async Task FunctionHandler(ILambdaContext context)
        {
            Console.WriteLine("Hello World!");
        }
    }
}
And the this is the project file.
<Project Sdk="Microsoft.NET.Sdk">

    <PropertyGroup>
        <TargetFramework>net8.0</TargetFramework>
        <GenerateRuntimeConfigurationFiles>true</GenerateRuntimeConfigurationFiles>

        <!-- AWS Lambda Configs https://aws.amazon.com/blogs/compute/introducing-the-net-8-runtime-for-aws-lambda/ -->
        <AWSProjectType>Lambda</AWSProjectType>
        <CopyLocalLockFileAssemblies>true</CopyLocalLockFileAssemblies>
        <StripSymbols>true</StripSymbols>
    </PropertyGroup>

    <ItemGroup>
        <PackageReference Include="Amazon.Lambda.Core" Version="2.2.0" />
    </ItemGroup>

</Project>
2. Now let’s configure the AWS Lambda.
Login to AWS.
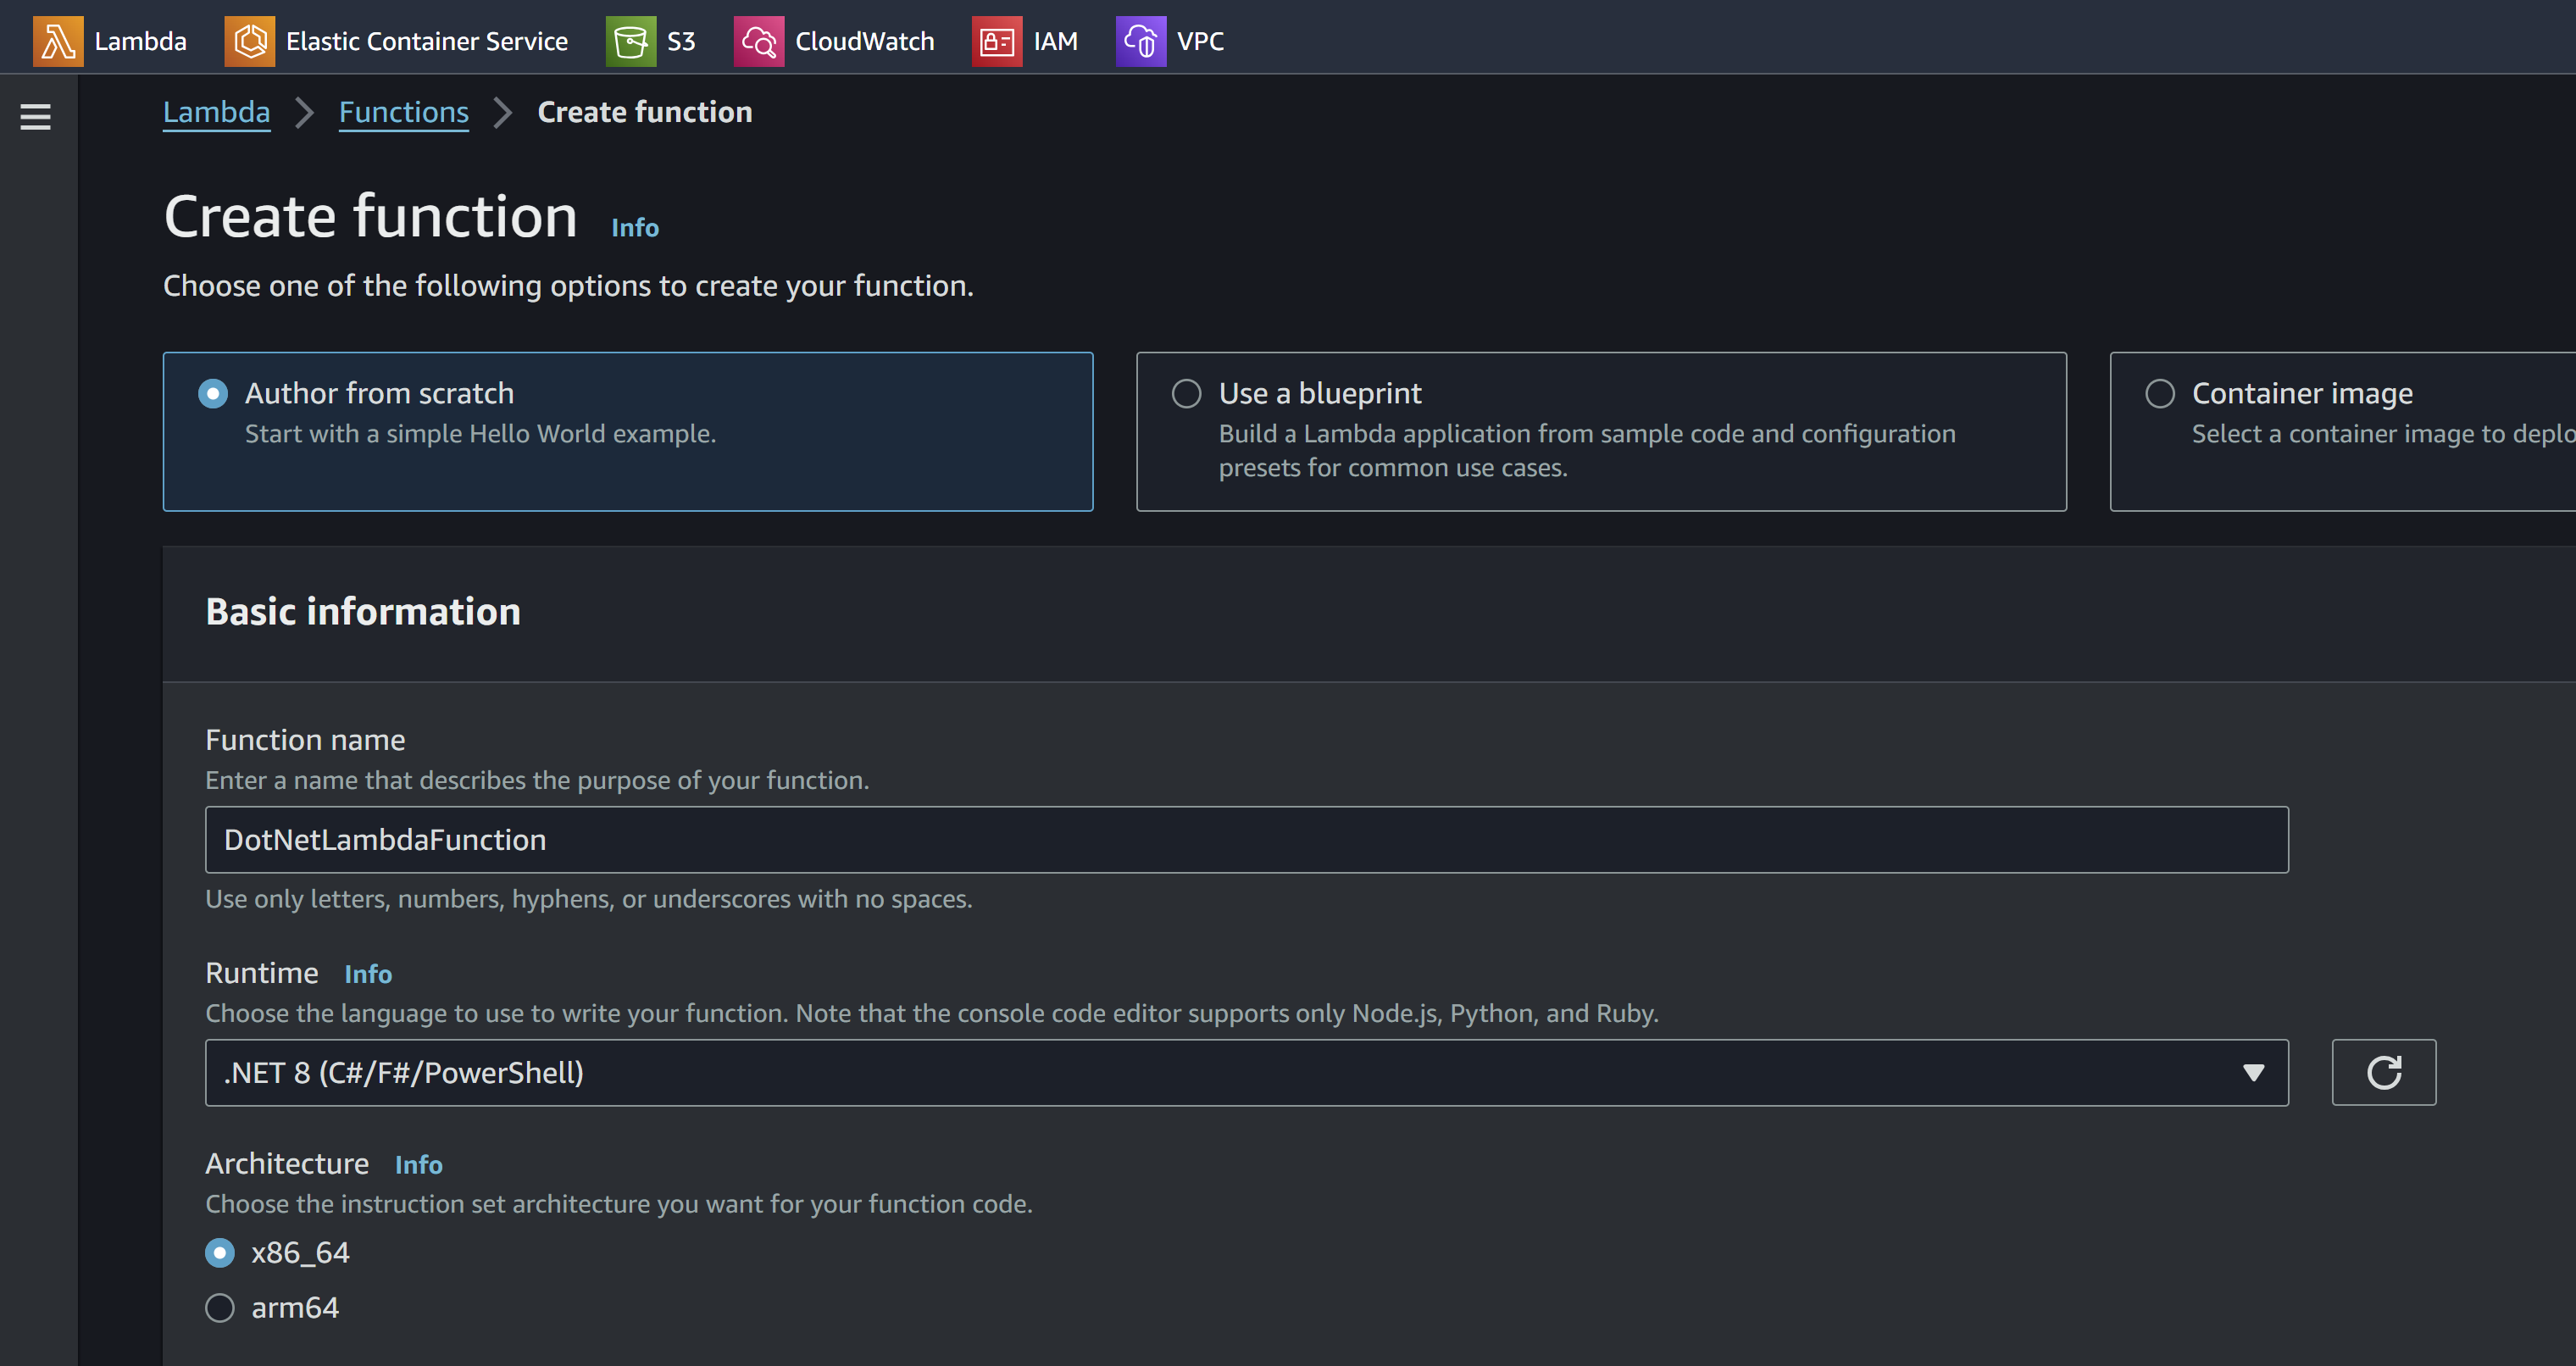
Go to Lambda > Functions click Create Function

Add a function name and select runtime .NET8.
Then go to Configuration, and check each of the following tabs.
General configuration
- Specify the timeout, max limit 15 minutes.
Permissions
- Here you can set extra permissions, not needed for this.
Environment Variables
- Here you can add env vars that you can use in your app.
VPC
- If you want to use static IPs for example. Then you need to create a custom VPC with a NAT gateway. But that’s another chapter.
Concurrency
- This settings depends on what your function will do. But if you want it to not run in parallel you need to throttle it with “Reserve concurrency=1”.
Now go to the Code tab and scroll down to Runtime settings.
Then set proper Handler path. Right now: DotNetLambdaFunction::DotNetLambdaFunction.Function::FunctionHandler
3. Now to the deploy step
Check the YML file for deployment.
https://github.com/viktornilsson/dotnet-lambda-template/blob/main/.github/workflows/deploy-aws-lambda.yml
Here you need to create a github user in AWS and create access keys for it. Under IAM > Users and Create User.
https://docs.aws.amazon.com/IAM/latest/UserGuide/id_users_create.html
with:
  aws-access-key-id: ${ secrets.AWS_ACCESS_KEY_ID }
  aws-secret-access-key: ${ secrets.AWS_SECRET_ACCESS_KEY }
  aws-region: eu-west-1
Then save the secrets in your github project.

After that double check that your name and folders are correct in this segment ./DotNetLambdaFunction and name=DotNetLambdaFunction.
- name: Make Zip File
    run: dotnet lambda package deploy.zip -pl ./DotNetLambdaFunction/

- name: Update Lambda Function
    run: aws lambda update-function-code --function-name=DotNetLambdaFunction --zip-file=fileb://deploy.zip
Then lastly trigger the workflow.

If everything go well in the build steps you should be able to trigger the lambda function via the AWS interface now.

And the output should say “Hello World”.
4. Conclusion
This is a very simple, cheap and effective approach how to build your “machinery”.
Just reach out if you have any inputs!